General conditions
Before each installation, the conditions on the construction site must first be checked. For laying outdoors, the possibility of partial or complete coverage should first be clarified. The substrate must have hardened correctly: According to construction site practice and the information provided by the adhesive manufacturer, you should wait 28 days after laying the screed and cement plaster and around 90 days after laying concrete. The substrate with anhydride screed allows a maximum of 0.5% residual moisture. Furthermore, the effects of temperature on the adhesive and materials must also be taken into account: Temperatures below 15 ° C slow down the drying of the adhesive, which can lead to long-term problems with adhesion. At temperatures above 35 °C, the laying should be carried out during times with less solar radiation, i.e. in the morning or late afternoon, and the construction site should be kept in the shade during the hot time of the day to prevent the adhesive from drying out.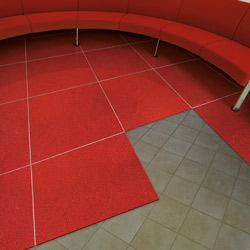 The drying effect of the wind is just as important, especially when laying facade exteriors or on ships. In pools and swimming pools, an adhesion test may be required to correctly assess structural behavior.
Bathtubs, shower trays and hydromassage tubs must be sealed watertight using appropriate means. Before leveling and laying, all dirt residues must be carefully removed. Furthermore, all uneven parts and dust must be removed from the surface.
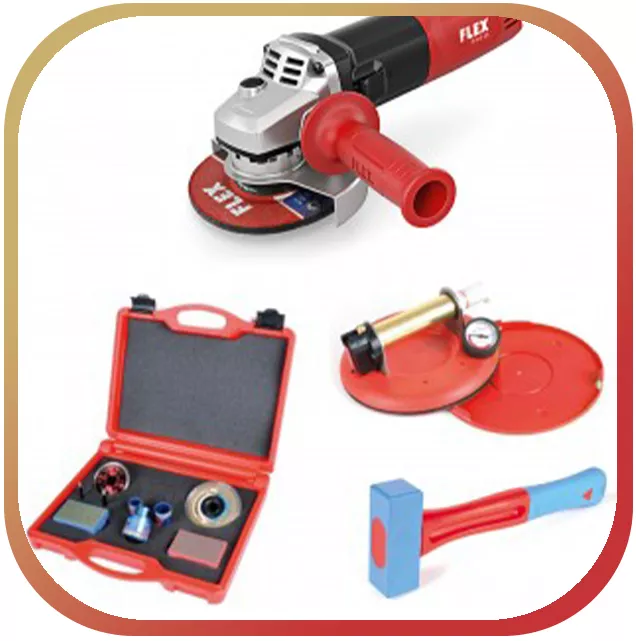
Technical equipment for laying the agglomerate
· Angle grinder with smooth diamond disc for cutting "trend agglomerates" (110 mm).
· Angle and Widia point.
· Measuring equipment: measures and pencils.
· Spirit level.
· Markers for drawing the most important reference lines.
· Trowels and spatulas.
· Notched trowel (choose the appropriate size depending on the material and base to be laid).
· Rubber and felt spatulas.
· Cleaning box with roller and sponge.
· Mixer, low speed, with spiral shaped stir bar, required to maintain the characteristics of modern adhesives.
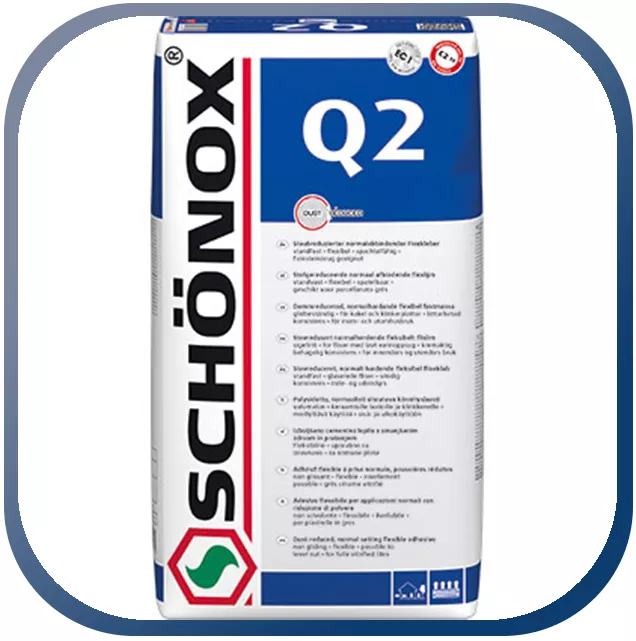
· Adhesive for agglomerate plates.
· All devices must be clean and rust-free.
 Laying the agglomerates
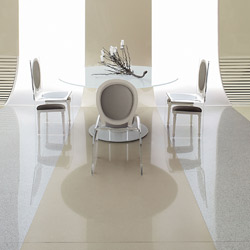
Storing the panels: Always ensure that the panels are stored on a level surface.Then draw right-angled reference lines that correspond to a mul tiple of the previously measured agglomerate plates. As soon as the reference lines are drawn, the glue is applied. The adhesive is applied (on the floor or floor covering), making sure that the spatula has a suitable tooth size. At the same time, the adhesive is applied with the smooth side of the spatula on the back of the panel with a double layer.
Then attach the plate particularly carefully and apply strong, even pressure so that the plate adheres perfectly to the substrate and any excess adhesive can escape. Control: Check the contact between the adhesive and the tiles by removing one or more tiles after installation and adjustment.
Filling joints and final cleaning
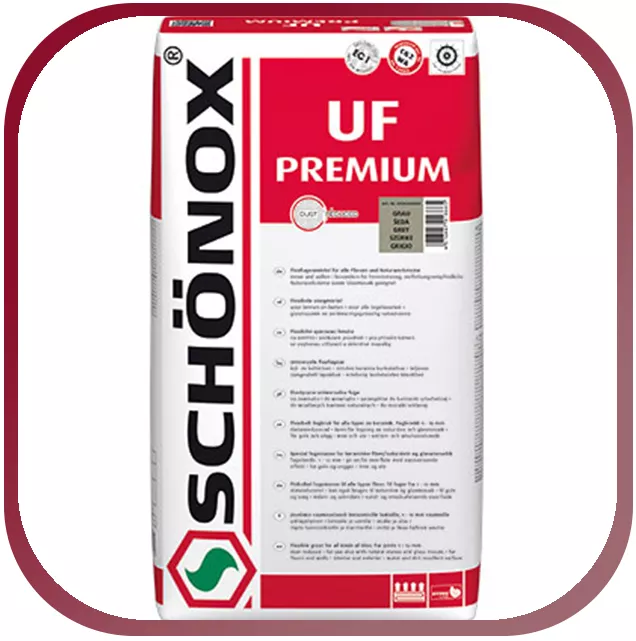
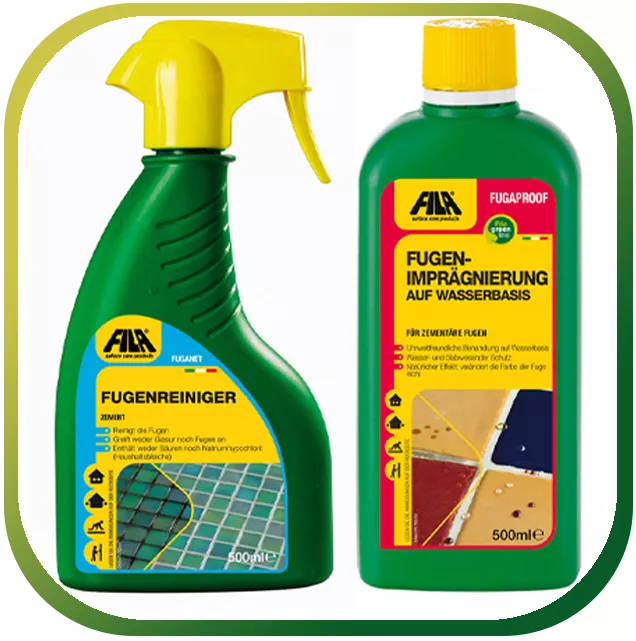
Always keep the surface of the panels clean, the edges of the adhesive must be removed immediately after laying, before the adhesive hardens. Structural and expansion joints must be taken into account with prefabricated elements. Corresponding spacers are used between the distances in order to guarantee the evenness of the distances and to enable the joints to be cemented afterwards. The entire installation area is cleaned with a sponge soaked in water, all adhesive residues are removed. As soon as the adhesive has completely hardened, the panels can be cemented. It is important to ensure that the grain size of the putty is compatible with the size of the joints and that only clean equipment is used to avoid hard dirt deposits attacking or impairing the gloss of the panels. The cleaning z. Use Trend Clean, for example, before the putty begins to harden. Prepare a container with Trend Clean diluted (if possible with lukewarm water) and soak a soft cloth with it. Wipe the panels several times in a circular motion to soften the excess putty and smooth the grout. Next, prepare another container of diluted Trend Clean, this time using a thick sponge to remove the kit residue. Finally, wipe with a sponge with clean water to remove all strips and let the panels shine.
Any further stripes must be removed with Trend Special Clean and a soft felt cloth after curing has started. Then wipe again.
Before each installation, the conditions on the construction site must first be checked. For laying outdoors, the possibility of partial or complete coverage should first be clarified. The substrate must have hardened correctly: According to construction site practice and the information provided by the adhesive manufacturer, you should wait 28 days after laying the screed and cement plaster and around 90 days after laying concrete. The substrate with anhydride screed allows a maximum of 0.5% residual moisture. Furthermore, the effects of temperature on the adhesive and materials must also be taken into account: Temperatures below 15 ° C slow down the drying of the adhesive, which can lead to long-term problems with adhesion. At temperatures above 35 °C, the laying should be carried out during times with less solar radiation, i.e. in the morning or late afternoon, and the construction site should be kept in the shade during the hot time of the day to prevent the adhesive from drying out.
 The drying effect of the wind is just as important, especially when laying facade exteriors or on ships. In pools and swimming pools, an adhesion test may be required to correctly assess structural behavior.
Bathtubs, shower trays and hydromassage tubs must be sealed watertight using appropriate means. Before leveling and laying, all dirt residues must be carefully removed. Furthermore, all uneven parts and dust must be removed from the surface.
 Technical equipment for laying the agglomerate
· Angle grinder with smooth diamond disc for cutting "trend agglomerates" (110 mm).
· Angle and Widia point.
· Measuring equipment: measures and pencils.
· Spirit level.
· Markers for drawing the most important reference lines.
· Trowels and spatulas.
· Notched trowel (choose the appropriate size depending on the material and base to be laid).
· Rubber and felt spatulas.
· Cleaning box with roller and sponge.
· Mixer, low speed, with spiral shaped stir bar, required to maintain the characteristics of modern adhesives.
· Adhesive for agglomerate plates.
· All devices must be clean and rust-free.
 Laying the agglomerates
Storing the panels: Always ensure that the panels are stored on a level surface.Then draw right-angled reference lines that correspond to a mul tiple of the previously measured agglomerate plates. As soon as the reference lines are drawn, the glue is applied. The adhesive is applied (on the floor or floor covering), making sure that the spatula has a suitable tooth size. At the same time, the adhesive is applied with the smooth side of the spatula on the back of the panel with a double layer.
Then attach the plate particularly carefully and apply strong, even pressure so that the plate adheres perfectly to the substrate and any excess adhesive can escape. Control: Check the contact between the adhesive and the tiles by removing one or more tiles after installation and adjustment.
Filling joints and final cleaning
Always keep the surface of the panels clean, the edges of the adhesive must be removed immediately after laying, before the adhesive hardens. Structural and expansion joints must be taken into account with prefabricated elements. Corresponding spacers are used between the distances in order to guarantee the evenness of the distances and to enable the joints to be cemented afterwards. The entire installation area is cleaned with a sponge soaked in water, all adhesive residues are removed. As soon as the adhesive has completely hardened, the panels can be cemented. It is important to ensure that the grain size of the putty is compatible with the size of the joints and that only clean equipment is used to avoid hard dirt deposits attacking or impairing the gloss of the panels. The cleaning z. Use Trend Clean, for example, before the putty begins to harden. Prepare a container with Trend Clean diluted (if possible with lukewarm water) and soak a soft cloth with it. Wipe the panels several times in a circular motion to soften the excess putty and smooth the grout. Next, prepare another container of diluted Trend Clean, this time using a thick sponge to remove the kit residue. Finally, wipe with a sponge with clean water to remove all strips and let the panels shine.
Any further stripes must be removed with Trend Special Clean and a soft felt cloth after curing has started. Then wipe again.

