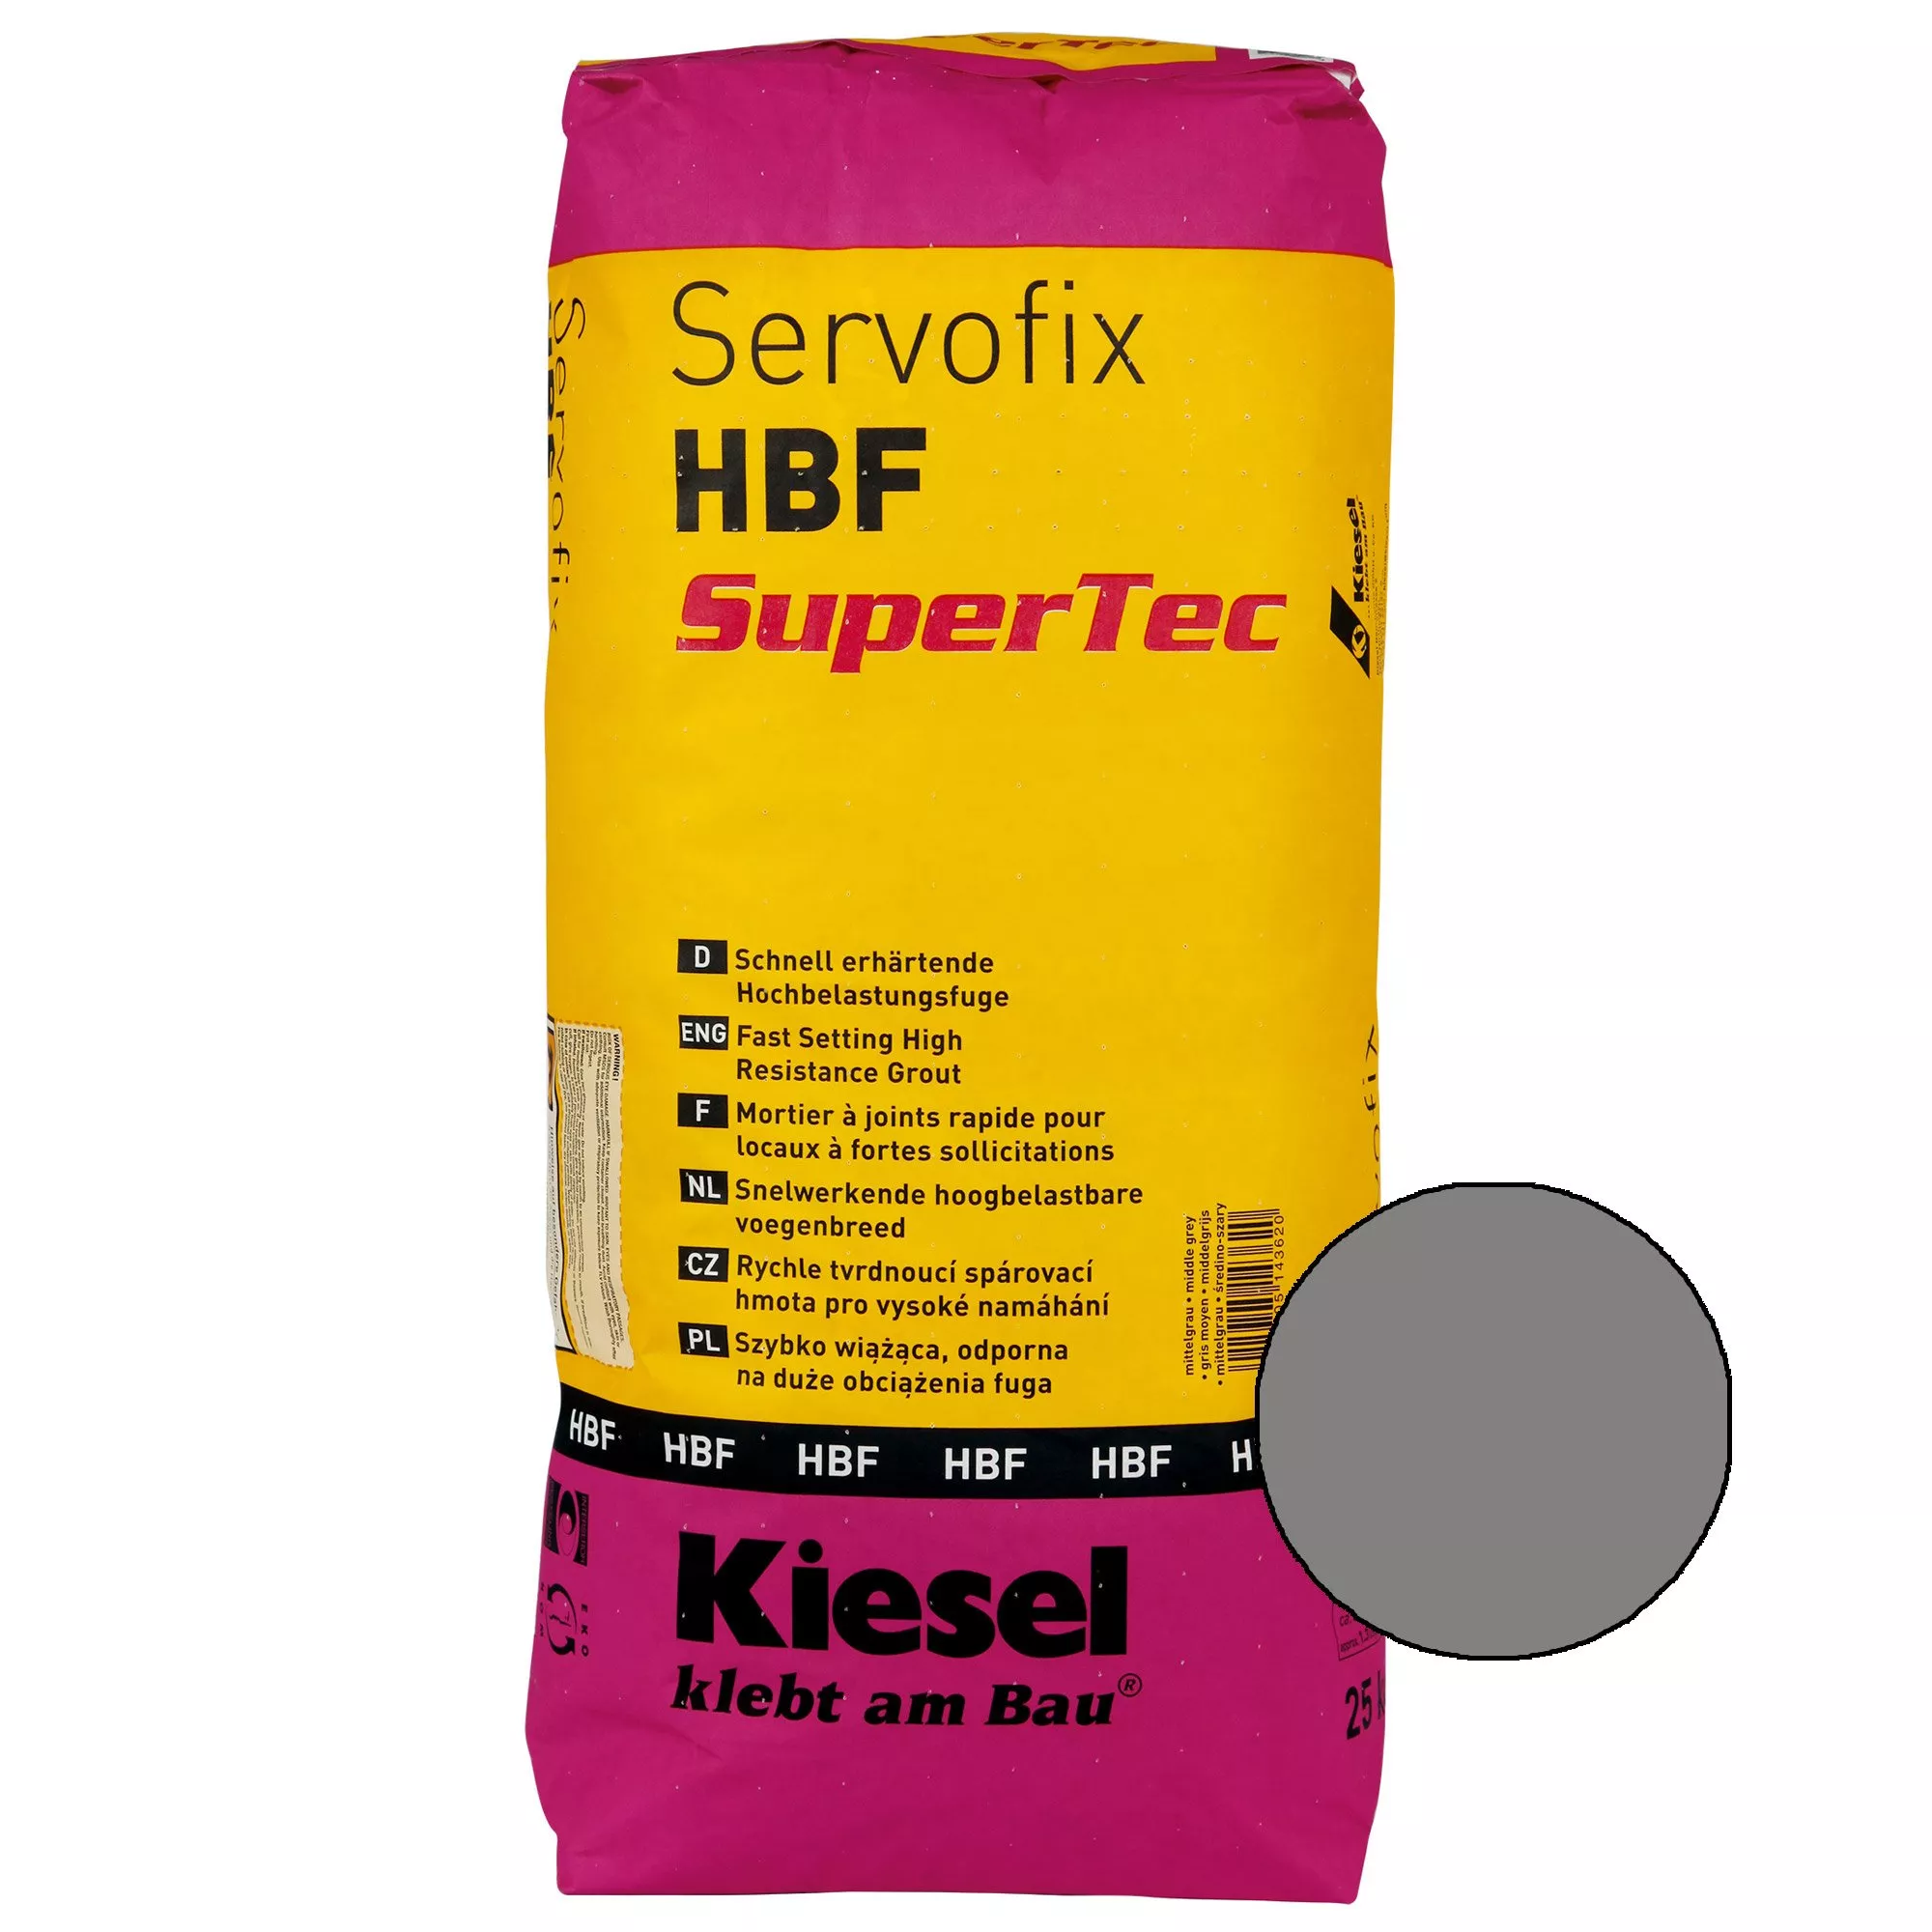
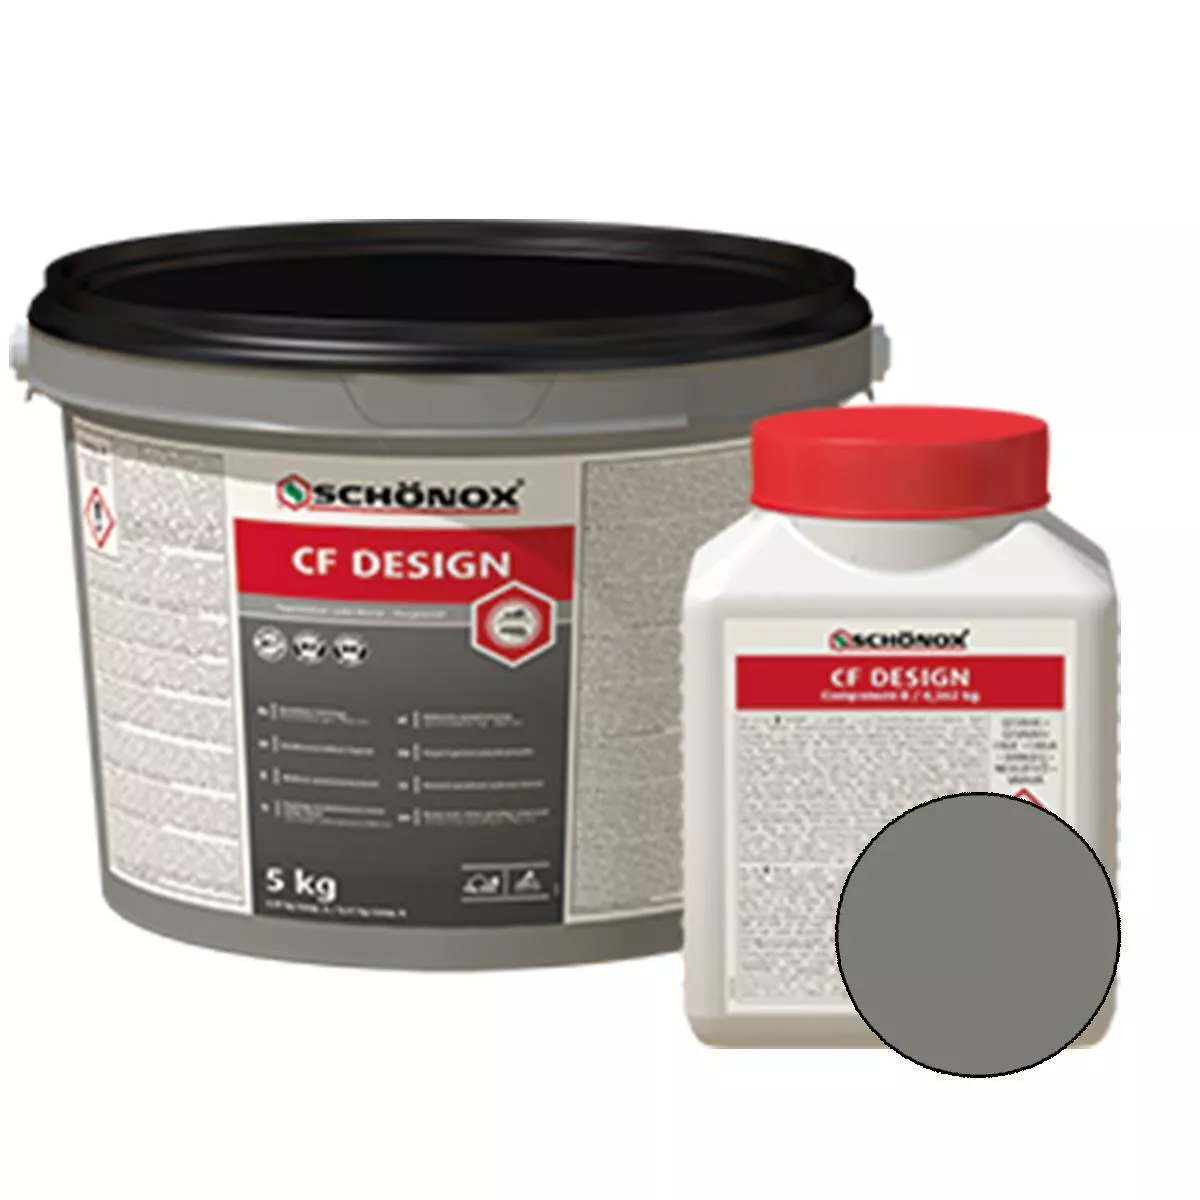
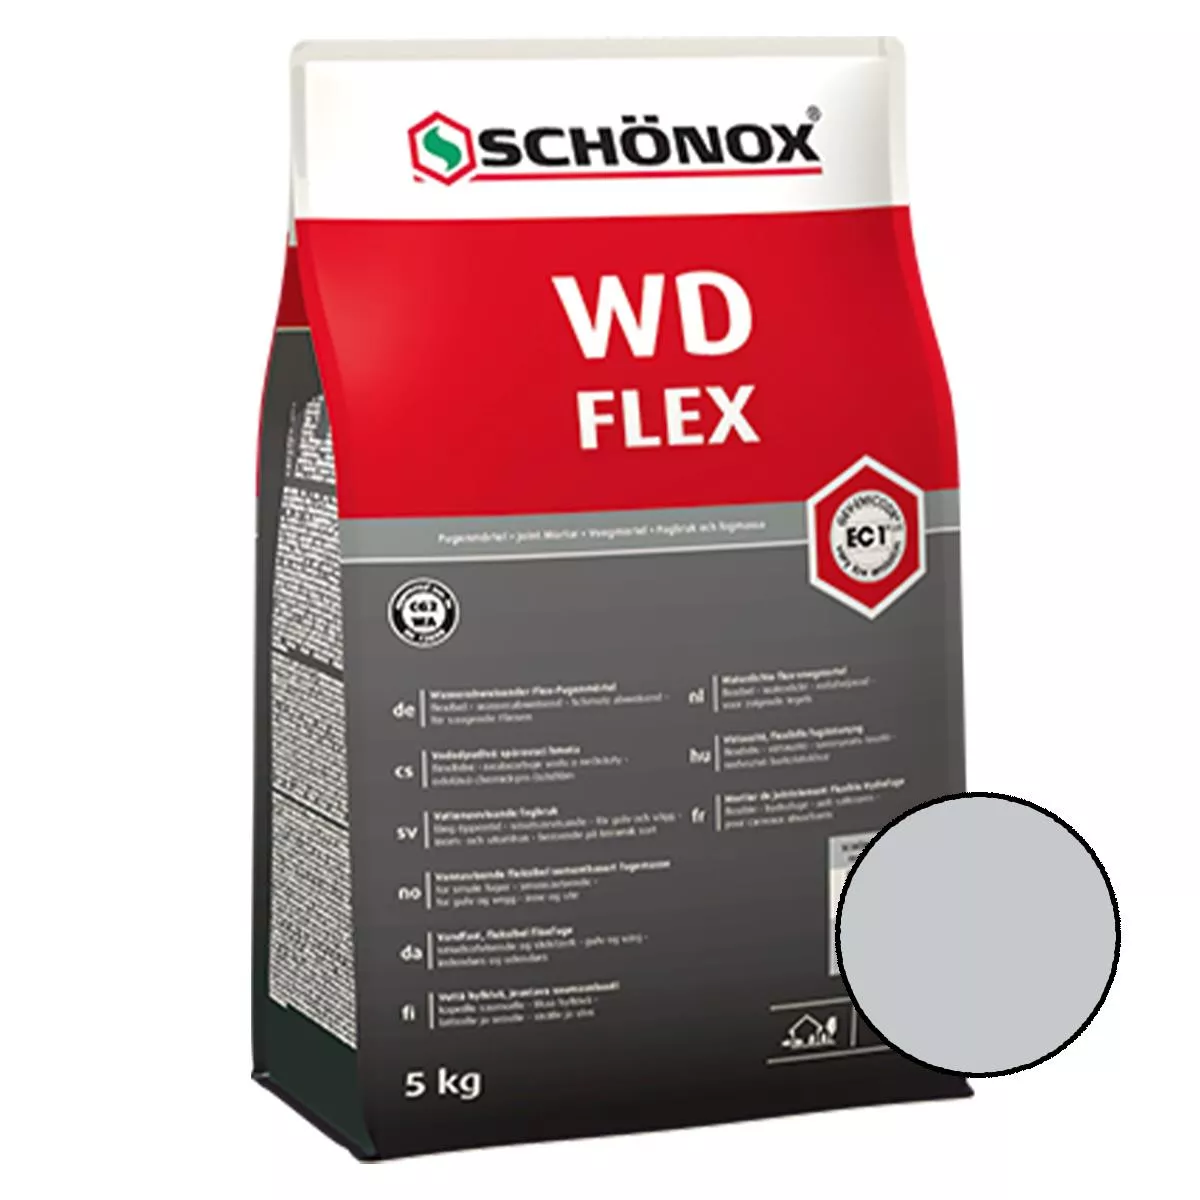
Grout

Content: 25 Kilogram (£3.49* / 1 Kilogram)
Content: 2.5 Kilogram (£23.75* / 1 Kilogram)
Content: 2.5 Kilogram (£23.14* / 1 Kilogram)
Content: 2.5 Kilogram (£23.86* / 1 Kilogram)
Content: 2.5 Kilogram (£23.86* / 1 Kilogram)
Content: 5 Kilogram (£17.99* / 1 Kilogram)
Content: 5 Kilogram (£17.99* / 1 Kilogram)
Content: 5 Kilogram (£18.92* / 1 Kilogram)
Content: 5 Kilogram (£18.46* / 1 Kilogram)
Content: 25 Kilogram (£2.17* / 1 Kilogram)
Content: 5 Kilogram (£1.94* / 1 Kilogram)
Content: 25 Kilogram (£1.78* / 1 Kilogram)
Content: 5 Kilogram (£3.01* / 1 Kilogram)
Content: 15 Kilogram (£2.79* / 1 Kilogram)
Content: 15 Kilogram (£2.25* / 1 Kilogram)
Content: 15 Kilogram (£2.25* / 1 Kilogram)
Content: 15 Kilogram (£2.25* / 1 Kilogram)
Content: 15 Kilogram (£2.25* / 1 Kilogram)
Content: 15 Kilogram (£2.79* / 1 Kilogram)
Content: 5 Kilogram (£4.97* / 1 Kilogram)
Content: 5 Kilogram (£4.97* / 1 Kilogram)
Content: 5 Kilogram (£4.97* / 1 Kilogram)
Content: 5 Kilogram (£4.97* / 1 Kilogram)
Content: 5 Kilogram (£4.97* / 1 Kilogram)
Grouting made easy - with a special joint mortar
After the last tile has been laid, you are almost on the home stretch. However, the joints that have arisen during installation still need to be closed. This work must be carried out carefully, otherwise any poorly jointed joint will pose a risk to the work done so far. The end of the song can often be the demolition of all the tiles.
Grouting - thorough preparation is important
Thorough preparation is required to ensure that everything goes smoothly when grouting. First of all, of course, a high-quality mortar and the right tool should be available. In addition to the grout, a trowel spatula, a grout bed or joint rubber for adding the grout, a bucket of water, a large cleaning sponge and a sponge board for reworking are required. When all the utensils are ready, the joints must first be freed from all residues and glue residues. If this work step is not carried out immediately after laying, you can immediately check whether the adhesive is well dried. A uniform joint color is only guaranteed if the adhesive is completely dry.
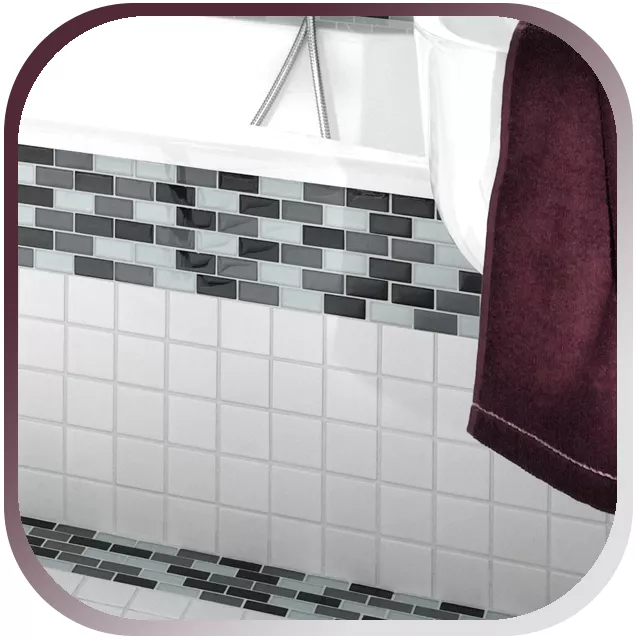
Select a suitable joint compound
The grout should always match the type of tile. A mosaic needs a different grout than natural stone tiles, for example, which are relatively porous. Glass tiles, on the other hand, should be grouted with particularly fine, white grout. With most tile laying, the joint width is an important criterion for the choice of joint compound. The different joint compounds are each characterized by different bonding properties. The underground also plays an important role. In particular, if there is underfloor heating, the joints should be grouted with an elastic joint compound so that the spaces between the joints can work. For tiles with sensitive surfaces and mosaics, a too coarse mortar must not be used to avoid scratches. There are also special products for this. So you should always use a high-quality grout that is especially adapted to the tile in order to be able to expect an optimal result.


